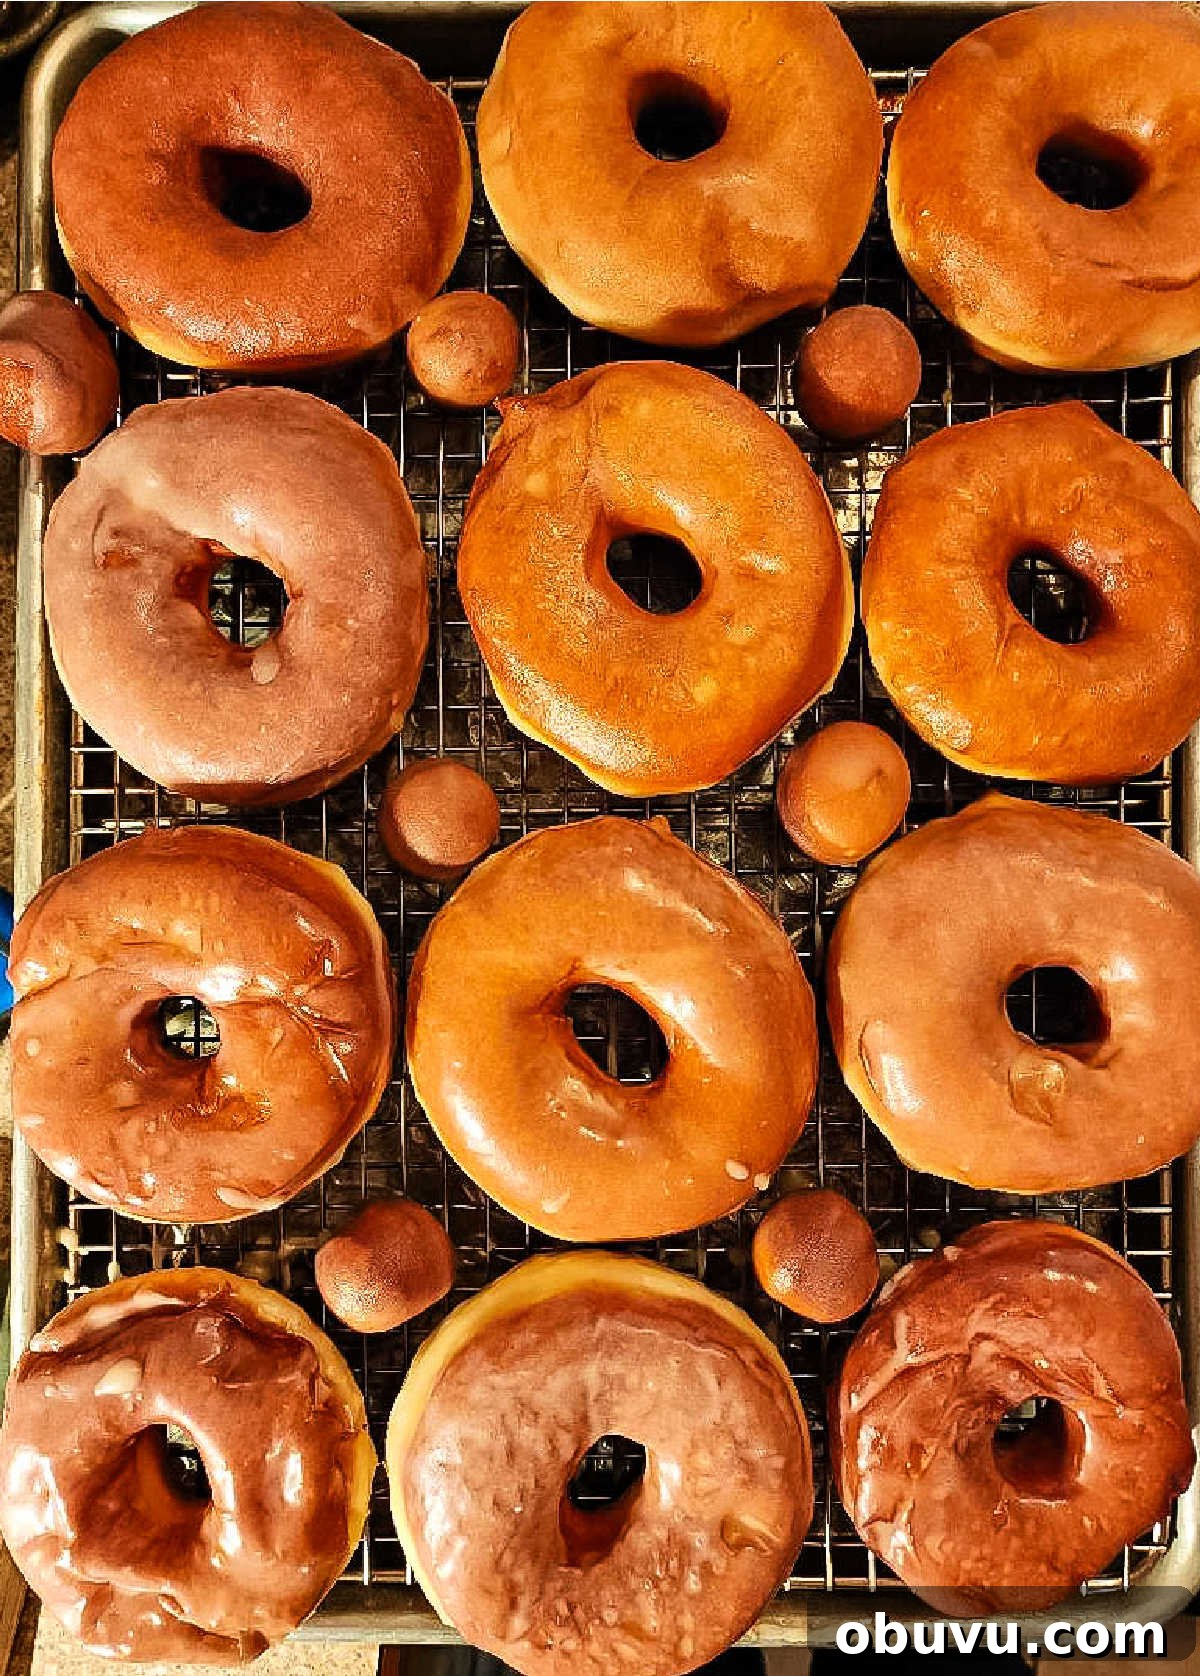
Friends, are you ready to make the best glazed donuts at home? Today we’re making a faithful copycat of Krispy Kreme’s classic glazed doughnuts.
These donuts get a thin, crackling glaze that flakes satisfyingly when you bite into them. The dough is soft, slightly sweet, and light after frying—everything you want in a glazed donut.
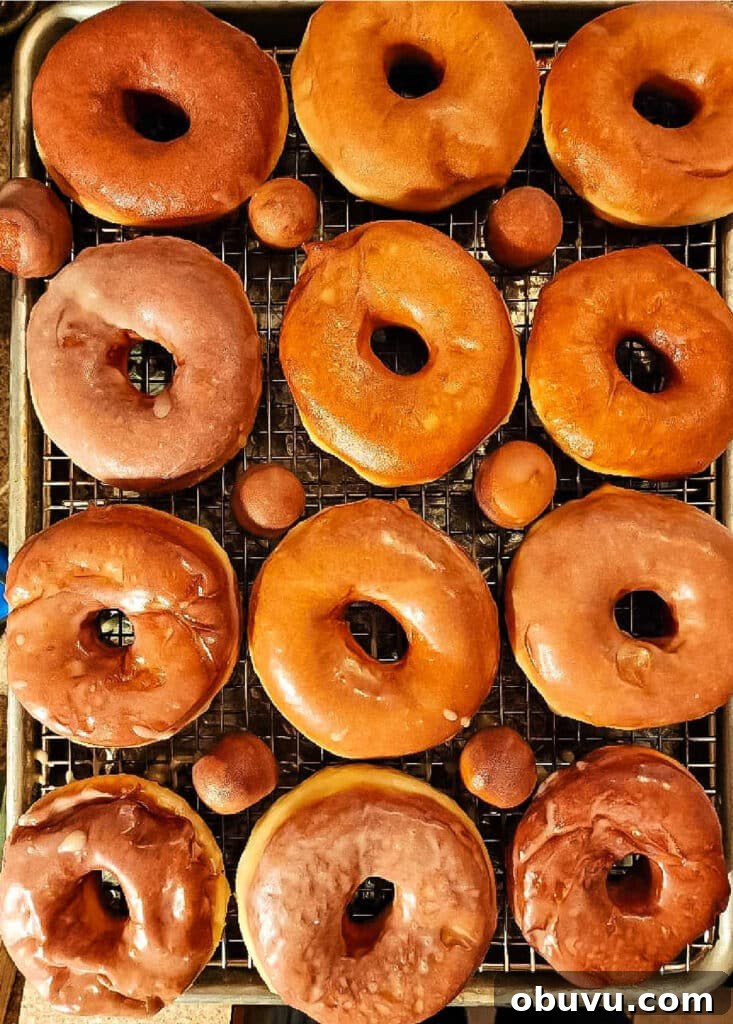
Glazed Donuts, At a Glance
✔️ Skill Level: Intermediate
✔️ Skills: Working with yeast, patience, shallow frying
✔️ Type: Shaped sweet dough
✔️ Number of Ingredients: 7 for the donuts, 5 for the glaze
✔️ Prep Time: 20 minutes
✔️ Rise Time: 1st rise ~2 hours; 2nd rise ~1 hour
✔️ Cook Time: About 1–2 minutes per side
✔️ Yield: 12 donuts plus scraps and donut holes
We really enjoyed the doughnuts. Soooo much better than storebought!
Neighbor Diane
Why Make Glazed Donuts (When You Can Buy Them)
Store-bought glazed donuts often contain stabilizers and other long-shelf-life ingredients. When you make glazed donuts at home you control the ingredients and know exactly what goes into them. The dough here is slightly sweet, soft, and flavorful. It puffs up nicely in the oil, resulting in light, airy donuts that are far superior to many commercial options.
This recipe uses malted milk powder for a subtle, old-fashioned malt note. If you like that hint of maltiness, you’ll enjoy these even more.
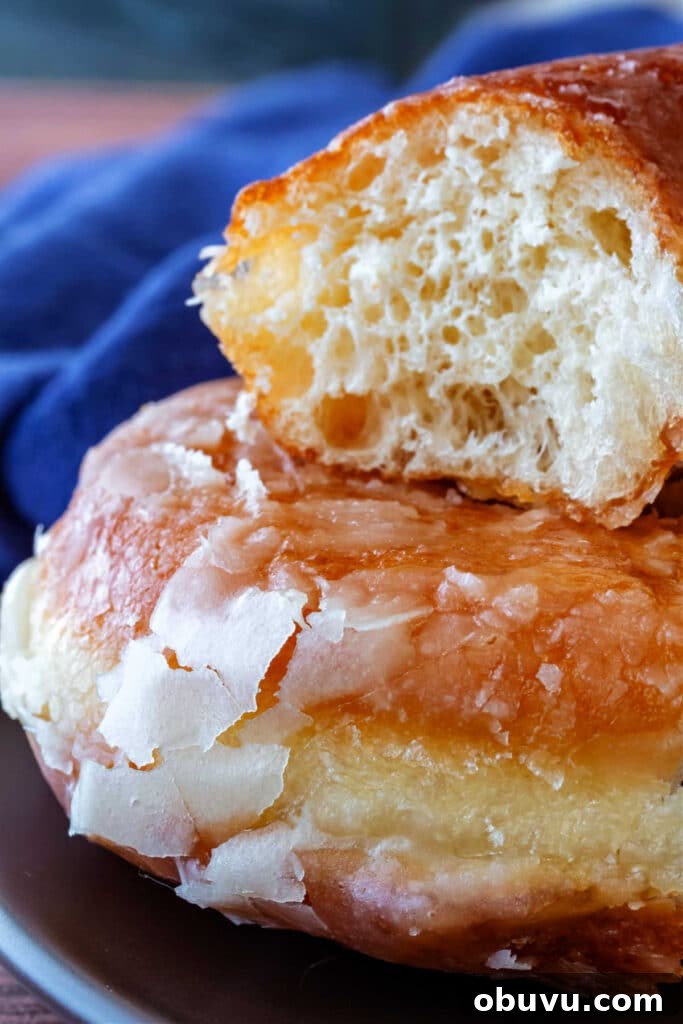
These doughnuts are soft and tender and the glaze cracks and flakes just like you want it to when you take a bite. Highly recommend, especially eaten while warm!
Reader Maggie
How to Make Homemade Glazed Donuts
Below is an overview and the complete recipe follows. If you already know how to make yeast-raised donuts, skip to the recipe section. If not, read on for a clear walk-through of ingredients and technique.
Ingredients Overview
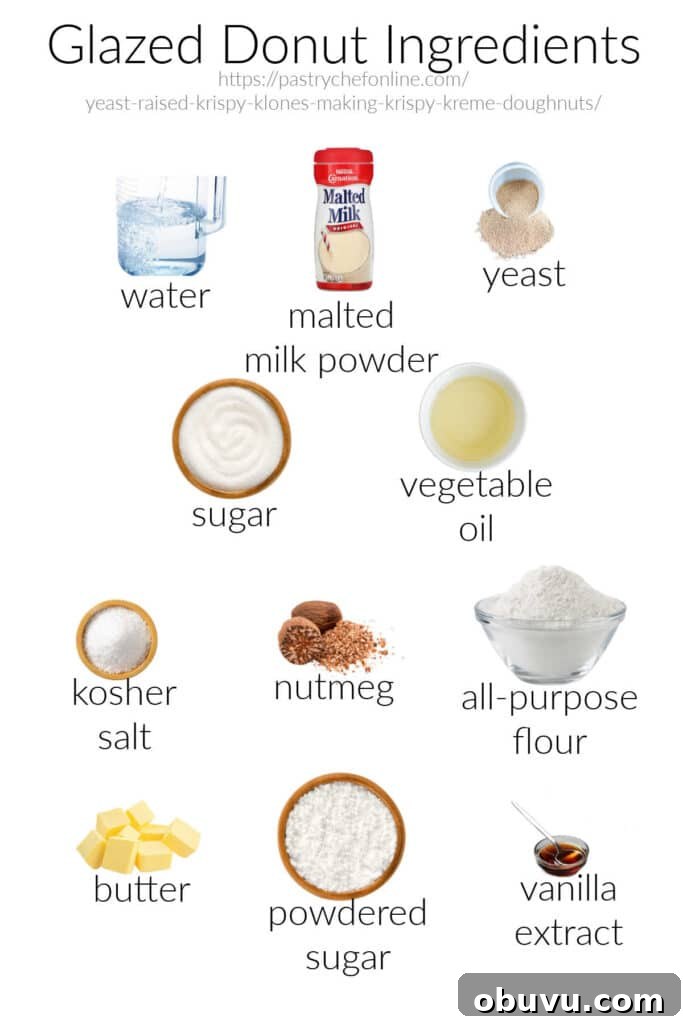
- Water — the liquid in the dough. If you don’t have malted milk powder, you can use whole milk instead.
- Malted milk powder — adds that old-fashioned malt flavor. Optional, but recommended for authenticity.
- Yeast — instant yeast is used here. If you use active dry yeast, proof it first in some of the liquid.
- Sugar — sweetens and helps tenderize and brown the dough.
- Neutral vegetable oil — adds tenderness and carries flavor in the dough.
- Kosher salt — balances flavor and moderates yeast activity.
- Nutmeg — a few gratings add a warm, familiar donut fragrance; optional but lovely.
- All-purpose flour — provides structure and protein for a reliable rise. The recipe is written for 1 pound (16 oz) of flour. For a lighter, more ethereal donut, reduce to 14.5 oz, but expect a very wet, slack dough that requires heavy dusting of flour to handle.
- Butter — for the glaze (use oil instead if you want a more classic Krispy Kreme flavor).
- Powdered sugar — for the glaze.
- Vanilla extract — to flavor the glaze.
- Boiling water — to thin the glaze to a thin, drippy consistency.
Procedure — Broad Strokes
- Make the dough and allow the first rise until doubled.
- Shape the dough and give the pieces a second rise.
- Fry the donuts until golden.
- Dip in a very thin glaze so it dries transparent and crackly.
Making the dough follows the same basic steps as other yeast breads, but instead of baking you’ll fry. The key is to produce a soft, stretchy dough and a well-paced proof so the donuts sit high in the oil and cook quickly into a light, pillowy shape.
Making the Dough
- Combine the water, malted milk powder, yeast, sugar, oil, salt, and flour in the bowl of a stand mixer fitted with a dough hook.
- Mix on low until flour is incorporated, then knead on medium until the dough is smooth, shiny, and very stretchy — about 15 minutes. The dough will be soft and may not clear the bowl; think of it as a thick batter to a soft dough depending on the flour amount.
- Form into a ball, spray the surface with pan spray, cover, and let rise in a warm spot until doubled in volume, about 2 hours.
Shaping and Second Rise
- Turn the proofed dough onto a generously floured surface, flour the top, and pat it about 1/4″ thick. No rolling pin is necessary unless the dough is extra slack.
- Cut donuts using a 3 1/2″ donut cutter or two round cutters for the outer shape and hole. Place each donut on its own 4″ square of parchment on a half sheet pan.
- Spray lightly with pan spray, cover, and let proof in a warm spot until puffy, about an hour. Cut scraps into bite-sized pieces for donut holes instead of re-rolling.
Frying
- Heat about 1″ of neutral oil in a large skillet to 360°F (180°C). Do not fill the skillet more than half full of oil.
- Slide each donut and its parchment into the oil, then use tongs to pull the parchment away so the donut floats free.
- Fry about 1 minute per side, flipping gently when the donut has a pale ring around the center. Cook in small batches (about three at a time) and monitor oil temperature closely.
- Drain donuts briefly on paper towels, then transfer to a rack for glazing.
Frying Tips
- Fry one test donut first to confirm proofing and oil temperature. A well-proofed donut will show a pale stripe around its equator.
- To flip gently, roll a donut to its side against the skillet edge and guide it back down on the other side.
- Fry in small batches and adjust heat as needed to maintain a steady 360°F. Slide the pan off the burner briefly if the oil begins to overheat.
Glazing
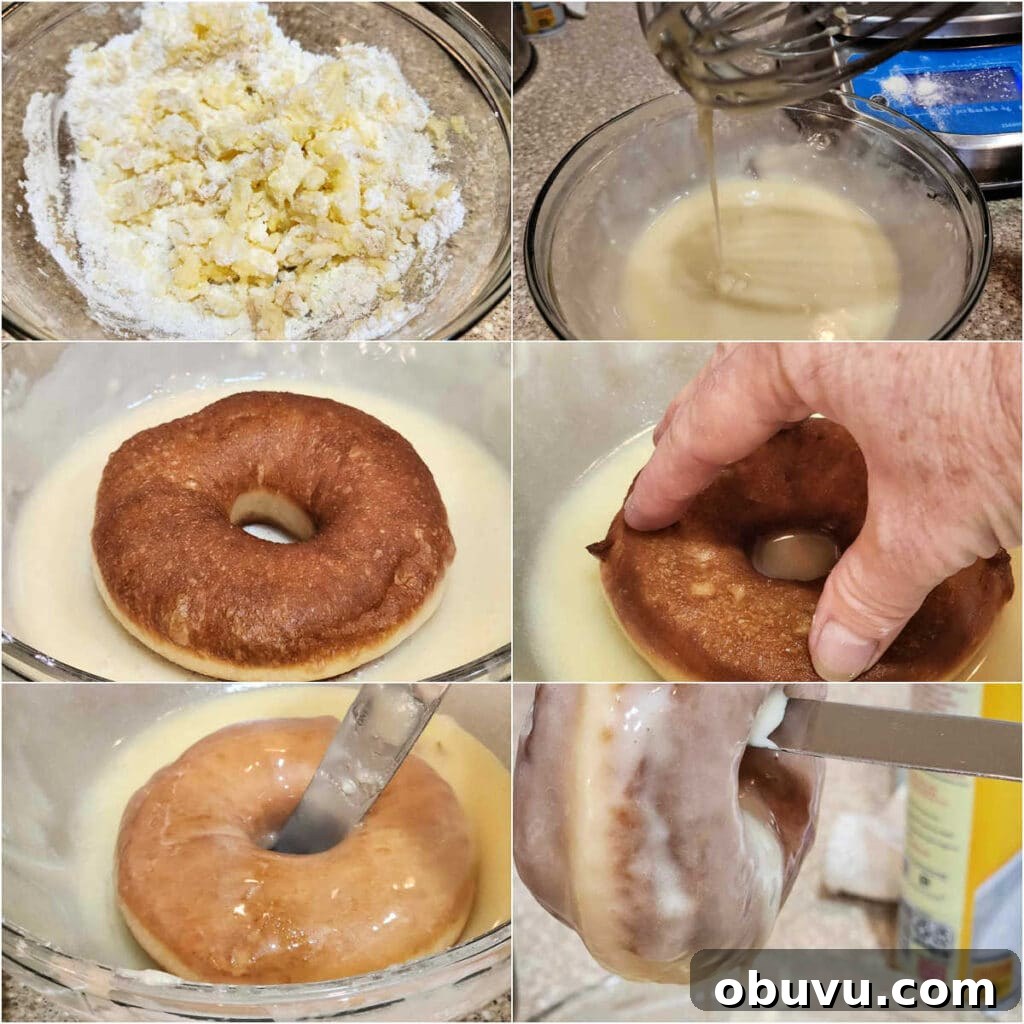
- Melt the butter, whisk in powdered sugar, a pinch of salt, and vanilla.
- Thin the mixture with boiling water until it becomes very thin and drippy — much thinner than a cake glaze. It should set nearly transparent.
- Dip each warm donut into the glaze so it is half-submerged, flip it with a knife through the hole, and rotate to coat the entire surface. Hold the knife and let excess glaze drip back into the bowl so the coating is thin.
- Reheat and thin the glaze as needed while you’re working; it will thicken as it cools.
Specialty Equipment
You’ll need a donut cutter or two round cutters (one large for the donut, one small for the hole). A candy or instant-read thermometer is helpful to keep your oil at 360°F (180°C). A stand mixer with a dough hook makes the dough easier but you can knead by hand if needed.
Glazed Doughnut Q & A
How long will they keep?
Donuts are best the day they are made, ideally warm. Leftovers can be reheated briefly in a toaster oven and are excellent transformed into bread pudding.
Can I use this recipe for filled donuts?
Yes. Cut rounds without holes, fry the same way, and inject your preferred filling after they cool slightly.
Glazed Donut Recipe
For the Donuts
- 8 oz (226 g) water
- 2.25 oz (112 g) malted milk powder (optional)
- 1 tsp instant yeast (4 g)
- 2.75 oz (78 g) sugar
- 1.65 oz (47 g / 1/4 cup) neutral vegetable oil
- 1 tsp kosher salt (5 g)
- Several gratings whole nutmeg (about 1/4 tsp, optional)
- 16 oz (454 g / about 3 1/2 cups) all-purpose flour (see notes)
For the Glaze
- 2 oz (57 g / 1/4 cup) unsalted butter
- 8 oz (226 g / 2 cups) powdered sugar
- Heavy pinch of salt
- 1/2 tsp vanilla extract
- Boiling water to thin to a thin, drippy glaze
Instructions (Condensed)
- Mix dough ingredients and knead until smooth and very stretchy, about 15 minutes. Let rise until doubled, ~2 hours.
- Prepare parchment squares for each donut. Pat dough to 1/4″ thickness, cut donuts, and place on parchment. Proof until puffy, ~1 hour.
- Heat oil to 360°F (180°C) and fry donuts about 1 minute per side until golden. Drain briefly on paper towels.
- Make the glaze, thin with boiling water until very runny. Dip warm donuts, allow excess to drip, then place on a rack to set. Reheat glaze as necessary to maintain thin consistency.
Notes
If you prefer an even lighter, airier donut and are comfortable handling slack dough, reduce the flour to 14.5 oz (411 g). The dough will be wetter and require generous flouring of the work surface, but the result can be extraordinarily light. Using 16 oz gives an easier dough to handle and still yields excellent donuts.
Questions?
If you have questions about the recipe or technique, leave a comment on this post or reach out by email. I’m happy to help troubleshoot proofs, frying temperature, or glazing technique.
That’s it, friends. These glazed donuts take some time and attention, but the result is a batch of warm, crackly-glazed treats that beat storebought versions. Enjoy!

Hi, y’all! I hope you enjoyed this post and picked up a tip or two. If you like this style of recipe, consider signing up for a newsletter to receive occasional updates and behind-the-scenes notes on new recipes and techniques.